The computing world is flat

As the deadline for the Windows 10 update looms quickly upon users, there are still a lot of users that are declining the upgrade.

Folks and companies declining the offer may have good reason to, but in my opinion there’s a few that are creating a “the world is flat” camp, and that by not moving to Windows 10 either by upgrading, or dare I say it buying a new device, will miss out on an awful lot of improvements.

When I say improvements, I don’t just mean the new features such as Cortana (nice as it is). Computing needs have moved on, and Windows 10 is the OS that works well with the needs in my opinion, computing isn’t chained to a desk anymore  (office or dining room) it’s now flexible, the ability to work anywhere is important not just for office work but for the home too.

For example, a touch screen interface instead of a keyboard. Perfect input method for being out and about, or lounging on the sofa. Windows 10 has a native tablet mode to allow you to take advantage of this interface (hardware allowing obviously). Although it’s not impossible in Windows 7 you can use touch if you don’t mind squinting one eye, sticking your tongue out of the corner of mouth as you line up the aim of your finger for just the exact point on the screen.

Mobile computing has rapidly becoming more and more a requirement, Windows 10 caters for it well, offering a linked OS across devices, from the home PC to the tablet/2 in 1 and even on the mobile phone. The ability to convert the phone to a full PC via continuum feature another work anywhere advantage.

But it’s not just new shiny methods of working that that Windows 10 improves on. Work wise Windows 10 offers better ways to perform standard computing.

For example the multiple desktop, allows users to section off areas of work, in that you can have desktop screen open with applications for one customer, and another screen with the same or different applications open for another. This tidy method means that you don’t have a tool bar cluttered with icons, and reduce the chance of losing that open document/file  you’ve been working on by closing the wrong one!

Remote desktop availability via a simple app, a straight forward create and record details allows you to easily build a library of rdp links you connect to via a simple click, no remembering login details/ dns names or ip addresses.

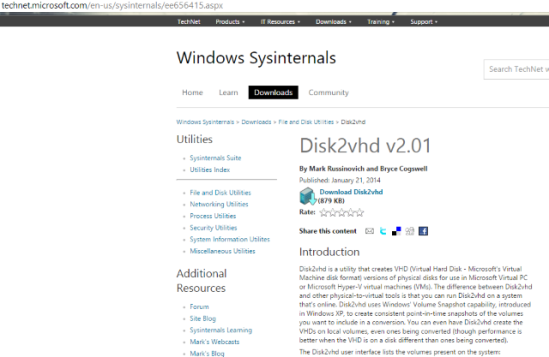
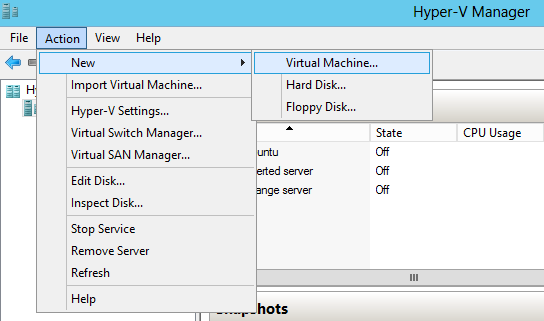
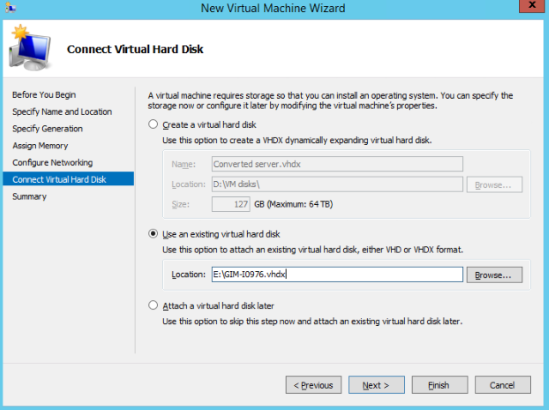
If you’re not a home user, then the availability to run virtual PC’s via the included Hyper-V is an option allowing your computer to become multiple computers, the list can go on and on.

Windows 7 is clocking on for being 8 years old, already there are no new developments on that platform, just updates to attempt to keep away security issues, so with no new features being added, it’s started to get long in the tooth.

At the end of the day some machines just won’t cut it old architecture and hardware has Windows 10 at a disadvantage. (That’s why there’s an update tool I recommend you run first to ensure that the machine will update, not just do it blindly and moan in the forums). Along with older software too it has to be said. But, that’s down to the user and the person/company who built the machine.

When other goods become long in the tooth, you replace them, it may well be time you need to consider hardware replacement if you wish to keep up with changes, and meet the requirements of a changing computing environment.

P2V easy as ABC (with Hyper-V)

Having discovered just how easy it is to deploy a DaaS server setup, thanks for Server 2012’s RDS Roles, the next big issue is the putting meat on the bones. In that the creation of Virtual machines for the broker server to work with.

When I completed the pet project, I basically started from the ground up. In that the VM’s were created from scratch, and just the additional required apps were added. But what if you need to virtualise an existing system ?

Luckily, there’s a dead handy application, available from Microsoft that allows you to convert both physical and existing virtuals to virtual disks, that a Hyper V server can utilise.

Say hello to the sysadmin’s new friend in VM construction for HyperV disk2vhd.exe

p2v1

Converting Physical to Virtual machines under Hyper V

Having migrated manually physical servers into virtual hosting on the cloud, the task can be a long and laborious one, ensuring that the initial configuration is right, then applying the applications and data, then looking at the security on top.

The ability to convert a system and just drop it onto the virtual hosting is a god send to say the least. In this article I’m focusing on virtualizing PC’s as VM for RDS, as a follow on to the RDS article, but the following exact same procedure can be used for servers too, just add a little more disk space for storage and a hint more time to prep the VM disk. 

What shouldn’t you virtualize

Hyper V has a “limit” of 127GB, so anything larger than that is a no- no I’m afraid. Also certain server roles such as a domain controller, are better suited to being built from scratch and then let the new server synch with the main DC, rather than duplicate and let the ensuing chaos of sync to matched servers battle it out.

 Obtain the Utility

The application is available from the Windows Sysinternals page so that you can download the program utility. The facility also existed to run the utility from the web page at the time of writing, so if you have a fast internet connection and cloud storage you can run the utility from the cloud.


Using disk2vhd.exe

The utility is downloaded as a zip file. You need extract the utility on the machine that you wish to convert from Physical to Virtual.

Tip always check the Use Vhdx box to create the disk this newer new disk format that was introduced in Windows Server 2012. Compared to traditional VHD, VHDX has several improvements, including a special internal log to reduce the chances of data corruption, a bigger capacity (up to 64 TB) and other great features. It’s worth using!

The Filename allows a path to store the virtual hard disk you’re going to create, its much betters to create the virtual disk on a separate disk to that of what you’re virtualizing (avoid the black hols scenario and copying the copy you’re creating!). Remember to include any disk/volume you want to virtualize. If you want it to be a bootable disk, then include a system disk plus boot area (tick System Reserved label). Click Create to start the process.

p2v2

 Convert disk(s) to VHDX format and copy it to Hyper-V host

Once the conversion is running, you’ll see the estimated time of its completion, displayed:-

p2v3

This screen shot shows the VM being copied to a new local drive, but as said you can copy to accessible server drives, or the cloud if required

As a result of the operation, you’ll get a VHDX file/disk, which you can now copy to your Hyper-V server and place in the folder where you have the VM disks.

p2v4

 Create a new VM on a Hyper-V host

Having created your disk, you should create a VM first. Run the New Virtual Machine wizard in Hyper-V Manager and configure it according to your needs. Configuration options are straight forward

p2v5


NOTE: Choose your VM generation carefully. Starting with Windows 2012 R2, Hyper-V has a new option:

Generation 2 Virtual machines. This is a second generation firmware for VMs is a revised set of virtual hardware and new opportunities for users, such as a boot from an SCSI device. There’s limitations in that only newer machines Windows 8 + are gen2 compliant, so if you’re virtualizing older machines take care in your choice. Gen 2 really is best suited to 64 bit builds, I’ve used them for Windows 10 and 2012 Server VM’s for which they’re fine, if you’re not 100% sure stick to Generation 1.

p2v6

Connecting up the vdhx disk

 While creating the virtual machine you also have to configure the virtual hard disk, so then pick a disk you already have created with the utility and complete the rest of the steps in the wizard.

p2v7


After completing the wizard you should be able to run the VM , simply by right-click on a VM, select Run, then right-click again and connect to it.

If the hardware configuration of the VM is different to the one being run on the VM host it may take some time for the VM to boot up. However, in a few minutes you’ll see the welcome screen and be ready to log in to the system. Presto as simple as that